How to Prevent Frozen Pipes in Winter: A Checklist Before the First Frost
On this page
How to Prevent Frozen Pipes in Winter: A Checklist Before the First Frost
When the temperature finally dips below freezing, the last thing you want is a burst pipe ruining your day (and your budget). The good news is that a few simple habits can keep water flowing smoothly all season long. Below is a printable, step‑by‑step checklist that covers everything from pipe lagging to what to do if a pipe does freeze. Grab a pen, print it out, and hang it on the fridge before the first frost hits.
Why Pipes Freeze – A Quick Reminder
Water expands when it turns to ice. If a pipe is exposed to air that stays at or below 32°F (0°C) for several hours, the water inside can freeze, block the flow, and eventually crack the pipe. The risk is highest in unheated spaces like basements, crawlspaces, attics, and outdoor walls. Knowing where the weak spots are makes the rest of the checklist much easier.
1. Insulate Exposed Pipes (Lagging)
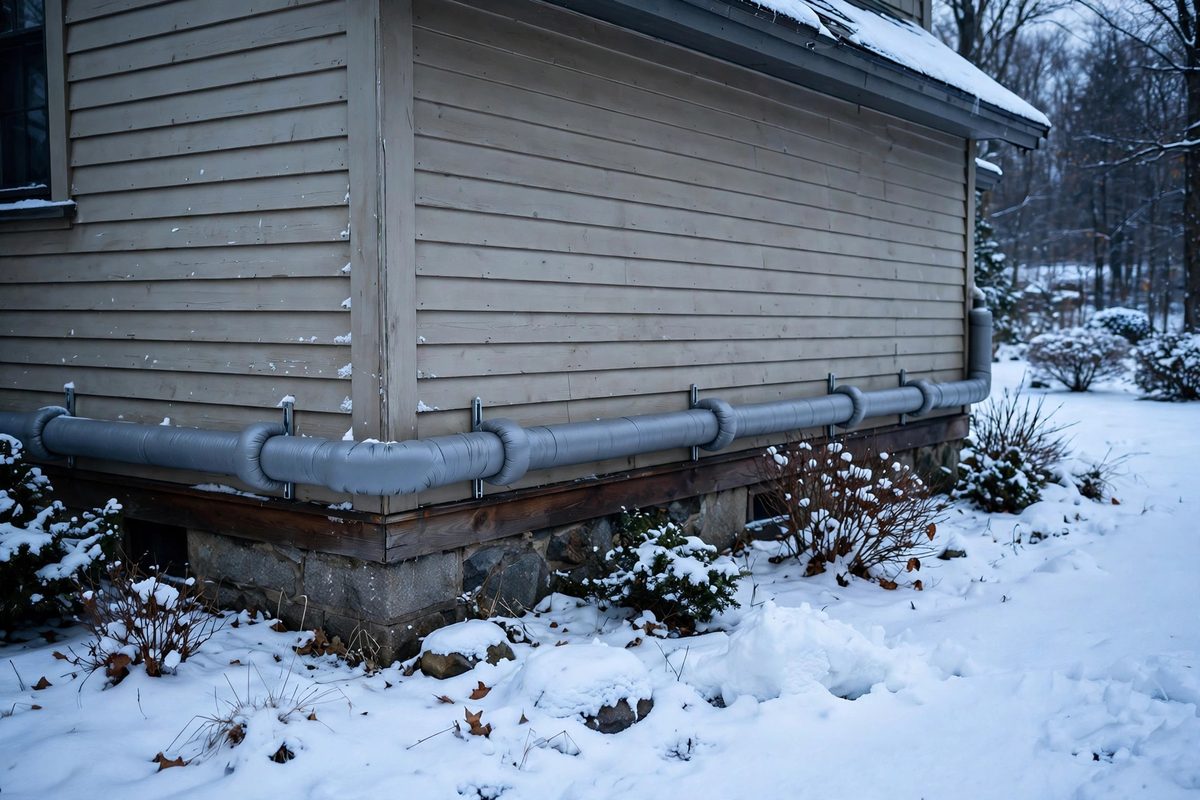
Pipe lagging is cheap, effective, and surprisingly easy to install. Foam pipe sleeves, fiberglass wrap, or even old towels can add a protective layer that slows heat loss.
- Identify the culprits: Walk through your home and feel the pipes in the basement, under the sink, and behind the furnace. Anything that feels cold to the touch is a candidate.
- Choose the right material: Foam sleeves with a zip‑close design work well for ½‑inch to 1‑inch pipes. For larger diameters, fiberglass wrap with a vapor barrier is a solid option.
- Installation tip: Cut the sleeve a little longer than the pipe segment, slide it on, and seal the seam with duct tape. For wrap, start at one end and overlap each turn by about an inch.
2. Protect Outdoor Faucets
Exterior spigots are the most exposed part of your plumbing system. A simple frost‑proof faucet cover can make a world of difference.
- Turn off the water: Locate the interior shut‑off valve that feeds the outdoor tap. Close it and open the faucet to drain any remaining water.
- Install a faucet cover: Foam or insulated rubber covers snap onto the spigot and seal tightly. If you don’t have a cover, a bucket of sand or a large plastic bag filled with water can act as a temporary shield.
- Leave a trickle: When a severe cold snap is forecast, let a thin stream of water run from the faucet. Moving water freezes at a lower temperature, reducing the chance of a solid ice blockage.
3. Locate and Shield the Main Stopcock
The main stopcock (or shut‑off valve) is the gateway to your entire water system. If it freezes, you lose water everywhere.
- Find it fast: In most homes it’s tucked behind a basement wall, near the water meter, or inside a utility closet. A quick Google search of your house’s floor plan can save you time.
- Wrap it up: Apply the same foam or fiberglass insulation you used on other pipes. If the valve is a metal ball valve, consider a small electric heat tape that turns on automatically when temperatures dip.
- Test the handle: After insulation, open and close the valve a few times. You want to make sure the wrap isn’t interfering with its movement.
4. Keep Your Home Warm – Even When You’re Away
It might feel tempting to crank the thermostat down to save a few bucks, but a home that stays at least 55°F (13°C) is far less likely to develop frozen sections.
- Set a minimum temperature: If you’re going on vacation, program your thermostat to hold 55°F (13°C) or higher. Many smart thermostats let you set a “away” schedule that does exactly that.
- Open cabinet doors: Kitchen and bathroom cabinets often hide pipes behind them. Leaving the doors ajar lets warm air circulate around the plumbing.
- Use a space heater safely: In rooms with vulnerable pipes, a small, thermostatically‑controlled heater can keep the air above freezing. Just keep it at least three feet from anything flammable.
5. Let Warm Water Drip During Extreme Cold
When the forecast calls for prolonged sub‑zero temperatures, a slow drip can be a lifesaver. The water moving through the pipe prevents a solid ice plug from forming.
- Which faucet? Choose a faucet that’s farthest from the water main—usually the one on the lowest floor.
- How much? A steady trickle—about a drop per second—is enough. It won’t noticeably raise your water bill but can prevent a costly repair.
- Combine with heat: If you have heat tape on the pipe leading to that faucet, the drip works even better.
6. What to Do If a Pipe Freezes
Even with the best prep, a pipe can still freeze. Acting quickly can save the pipe from bursting.
- Turn off the water supply: Locate the main stopcock and close it. This stops water from building pressure behind the ice blockage.
- Open the affected faucet: This relieves any pressure that may have built up while the pipe was freezing.
- Apply gentle heat: Use a hair dryer, a portable space heater, or a heating pad. Start at the faucet end and move toward the frozen section, warming the pipe gradually. Never use an open flame.
- Check for leaks: Once water begins to flow, keep the faucet open and watch for any signs of a burst pipe—dripping or pooling water where the pipe runs.
- Call a professional if needed: If you can’t locate the frozen spot, or if the pipe cracks, it’s safest to get a plumber involved right away.
Printable Checklist – Before the First Frost
- Inspect all visible pipes – feel for cold spots in the basement, crawlspace, and attic.
- Apply insulation (lagging) – foam sleeves or fiberglass wrap on any exposed pipe.
- Cover outdoor faucets – install frost‑proof covers and drain the lines.
- Find the main stopcock – wrap it and verify it turns easily.
- Set thermostat – minimum 55°F (13°C) for the whole house.
- Open cabinet doors – in kitchens and bathrooms to let warm air reach hidden pipes.
- Plan for a drip – decide which faucet will run a slow stream during extreme cold.
- Gather heating tools – hair dryer, portable heater, and heat tape for emergencies.
- Know the steps if a pipe freezes – turn off water, open faucet, apply gentle heat, watch for leaks, call a plumber if needed.
Keep this list on your fridge or in a drawer near the thermostat. When the temperature starts to dip, run through the items quickly—most of them take just a few minutes, and the peace of mind is priceless. A little preparation now means you won’t be scrambling for a bucket and a wrench when the first frost arrives.
Remember, preventing frozen pipes is mostly about keeping heat where the water is. A bit of insulation, a modest thermostat setting, and a few minutes of attention before the cold hits go a long way. Stay warm, stay dry, and enjoy the season without the surprise of a burst pipe.
Comments
No comments yet — be the first to share your experience.