How to Prevent Ice Dams on Your Roof This Winter
On this page
How to Prevent Ice Dams on Your Roof This Winter
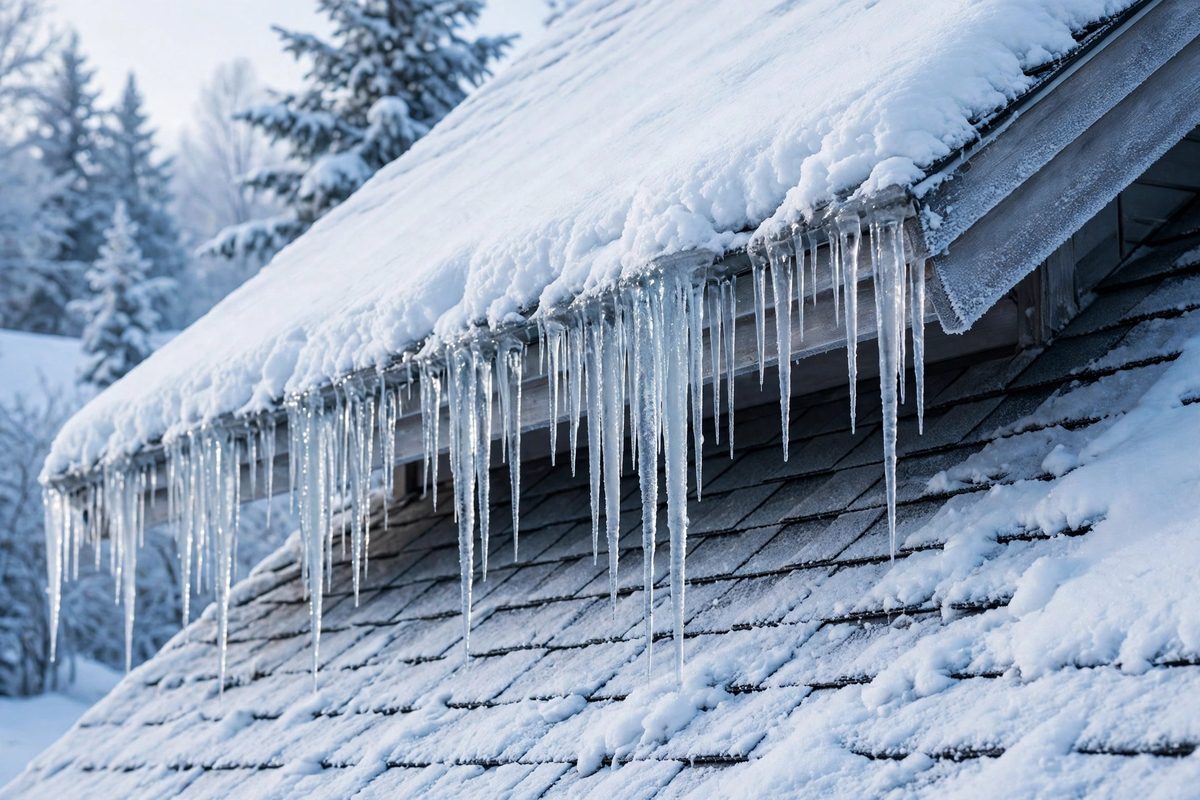
When the temperature swings from sub‑zero at the eaves to just a few degrees above freezing in the attic, you’ll see water start to pool along the roof edge. Those dark, icy ridges are ice dams, and they’re not just an eyesore—they can leak, rot wood, and ruin insulation. The good news? Most ice dams are caused by one simple problem: heat escaping into the attic. Below we’ll walk through what’s happening, then give you a clear game plan to seal, insulate, ventilate, and keep the snow away from the eaves.
Why Heat in the Attic Creates Ice Dams
Think of your roof as a giant metal pan. When warm air leaks from the living space up into the attic, it melts the snow that’s directly above the roof deck. That meltwater runs down the slope until it hits a colder spot—usually the eaves, where the roof meets the gutter. The water refreezes, building a ridge of ice. As more meltwater arrives, it backs up behind the ridge, finding any weak spot in the roof sheathing or shingles and leaking inside.
Even a small temperature difference can do the trick. If the attic is just 5 °F (about 3 °C) warmer than the outside, the snow on the roof can melt fast enough to start an ice dam. That’s why sealing the attic is the first line of defense.
Step 1: Air‑Seal the Attic
Air leaks are the sneaky culprits that let warm, moist air travel upward. Here’s how to hunt them down and close the gaps:
- Find the obvious holes. Look for gaps around recessed lighting, plumbing vents, and chimney flues. A simple piece of foil‑backed insulation (often called “caulking tape”) works well for small openings.
- Seal the attic hatch. The hatch is usually the biggest leak. Cut a piece of rigid foam board to fit the opening, then seal the edges with spray foam or caulk. If you need to keep the hatch functional, install a magnetic latch so it stays closed when you’re not using it.
- Check the top plates. Run a hand along the top of interior walls where they meet the ceiling. Any draft you feel is a spot to fill with low‑expansion spray foam.
When you finish, the attic should feel noticeably cooler on a chilly day—like stepping into a refrigerator that’s been turned off for a while.
Step 2: Boost the Insulation
Sealing stops the air; insulation stops the heat. If your attic is already sealed but you still notice a temperature rise, you probably need more insulation.
Most building codes recommend an R‑value between R‑38 and R‑60 for attics in cold climates. If you’re not sure where you stand, pull out a piece of insulation and look for the printed rating. Here’s a quick guide:
- R‑13 to R‑19 (batts). This is the typical thickness for 2‑in‑wide fiberglass batts. It’s a good starter if you have a modest budget.
- R‑30 to R‑38 (blown‑in cellulose or fiberglass). This level is common in newer homes and gives you a solid buffer against heat loss.
- R‑49 to R‑60 (spray foam or dense-packed cellulose). If you have a large, unheated space under the roof, this extra insulation can make a big difference.
When adding insulation, keep the ventilation pathways clear. Don’t pack the material against the roof deck; leave at least a 1‑inch air gap to let moisture escape.
Step 3: Create a Healthy Flow of Air
Even the best‑insulated attic can develop ice dams if the roof can’t breathe. Proper ventilation keeps the roof deck cold and the snow from melting in the first place.
Two types of vents work together:
- Soffit vents. These let cool air in at the eaves. Aim for about 1 square foot of vent area for every 150 square feet of attic floor.
- Ridge or roof vents. These exhaust warm air at the peak. The same 1‑in‑150 rule applies, but you can split the total area between soffits and ridge.
If you have a cathedral ceiling, you’ll need a different approach—usually a combination of insulated baffles and a vented ridge.
Check the existing vents. Sometimes a bird’s nest or insulation blockage will choke them. A quick brush‑out with a broom or a low‑pressure leaf blower can restore the flow.
Step 4: Keep Gutters Clean and Free‑Flowing
Ice dams love clogged gutters. When water can’t escape, it backs up and freezes at the eave, adding to the dam. Here’s a simple routine:
- Clear debris in the fall. Rake leaves and twigs before the first big snowfall.
- Inspect after each major storm. A quick glance from the ground can reveal a blockage.
- Install gutter guards. If you’re tired of climbing ladders, a mesh or reverse‑curve guard can keep most debris out while still letting water slide away.
Even a small amount of ice buildup in a gutter can cause water to overflow and freeze on the roof edge, so don’t ignore a slow‑dripping sound.
Step 5: Safely Remove Snow from the Eaves
When the snow load on the roof gets heavy, the weight can push heat‑melted water down to the eaves, accelerating dam formation. Removing snow from the lower edge is a quick fix, but safety comes first.
Follow these tips:
- Use a roof‑rake with a long pole. A 6‑foot pole lets you stay on the ground while pulling a 2‑foot wide strip of snow off the eaves.
- Work in short bursts. Snow is heavy—lifting a few feet at a time reduces strain and the chance of a slip.
- Don’t over‑clear. Leaving a thin layer of snow on the rest of the roof helps insulate the deck and keeps it from freezing too quickly.
- Watch the weather. If a storm is still in progress, wait for a lull. Wet snow is much heavier than dry powder.
When you pull the snow away, you’ll see a clear line where the roof meets the gutter. That’s the spot you want to keep ice‑free.
Putting It All Together: A Sample Weekend Project
Here’s a realistic timeline that fits most busy households:
- Saturday morning – Seal the attic. Spend an hour walking the perimeter, taping up holes, and installing a foam board hatch cover.
- Mid‑day – Add insulation. If you’re using blown‑in cellulose, rent a machine (often $30‑$40 per day) and fill the gaps until you hit the recommended R‑value. It’s a messy job, so wear a mask.
- Afternoon – Check vents. Open the soffit vents, clear any blockage, and make sure the ridge vent is unobstructed. If you need extra vent area, consider adding a few low‑profile vent panels.
- Sunday – Clean gutters and rake the eaves. A quick sweep of the gutters, followed by a few passes with the roof‑rake, will give you a clear line of defense before the next snowfall.
By breaking the work into bite‑size chunks, you avoid feeling overwhelmed and still get the most effective protection before the deep freeze hits.
When to Call a Pro
Most of the steps above are DIY‑friendly, but there are a few situations where a professional’s help saves time and headaches:
- If you discover significant roof damage (missing shingles, cracked flashing) while checking for ice dams.
- If your attic has a complex layout—multiple levels, HVAC ducts, or a finished space—that makes sealing and insulating tricky.
- If you’re uncomfortable working on a steep roof or using a ladder for gutter work.
A qualified contractor can also perform a blower‑door test, which measures how much air is leaking from your home. That data can guide you to the most cost‑effective fixes.
Final Thoughts
Ice dams are a symptom, not a mystery. By stopping warm air from escaping, adding enough insulation, keeping the roof ventilated, cleaning the gutters, and safely pulling snow away from the eaves, you give the roof deck a chance to stay cold all winter. The effort you put in now saves you from costly water damage, mold, and the stress of a frantic repair call when the temperature spikes.
So grab that roof‑rake, tape up those gaps, and enjoy a dry, peaceful winter. Your roof will thank you, and you’ll sleep easier knowing the only thing building up on your house is holiday cheer.
Comments
No comments yet — be the first to share your experience.