How to Dry Clothes Indoors in Winter Without Damp, Mould or Smell
On this page
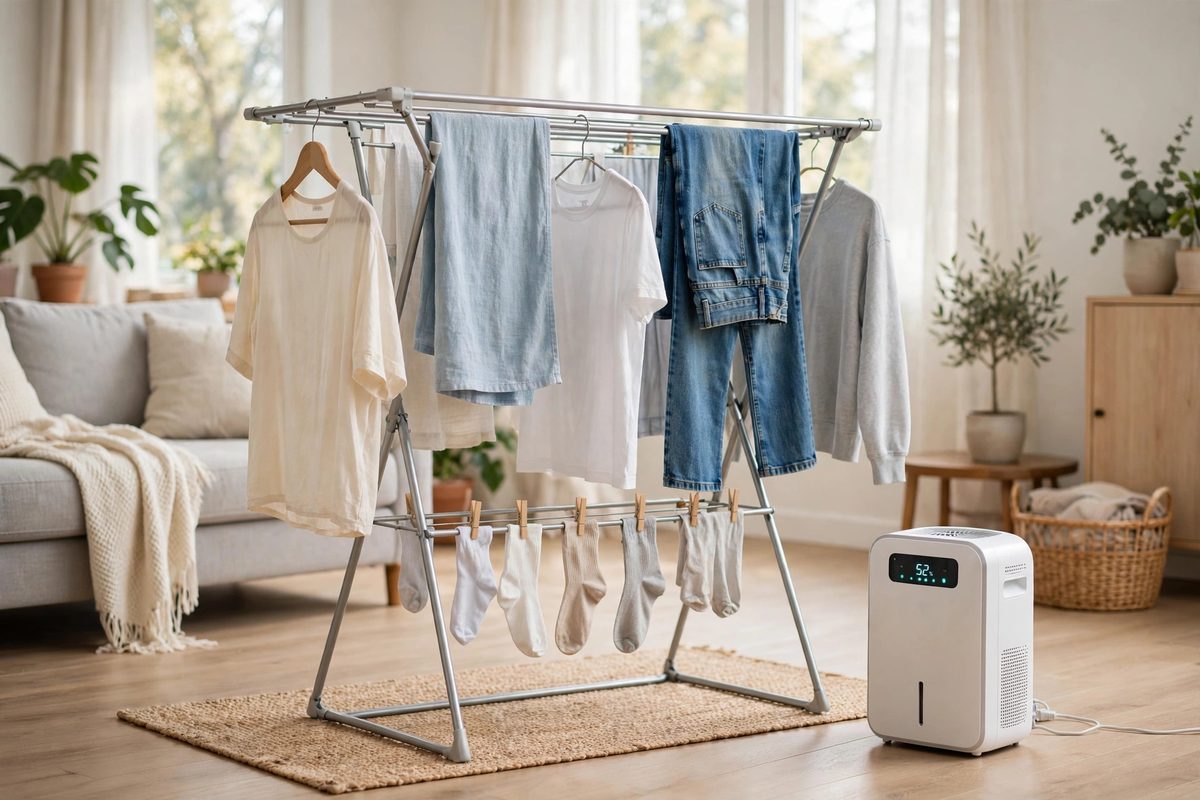
How to Dry Clothes Indoors in Winter Without Damp, Mould or Smell
Winter makes outdoor drying feel like a distant memory, but you don’t have to surrender to damp, musty smells or a soggy living room. With a few simple habits and the right set‑up, you can keep your laundry fresh even when the temperature drops below freezing.
Why the One‑Room Method Works
Instead of spreading the job across the whole house, focus on a single room that you can control. When you seal the space, you can keep humidity in a safe range, prevent mould spores from wandering, and still let the air move enough to carry moisture away. Think of it as turning a small bedroom or hallway into a micro‑drying studio.
Step 1 – Spin Your Loads Hard
Before the clothes even touch the airer, get as much water out of them as possible. A modern washing machine’s spin cycle can reach 1200 rpm, which extracts roughly 80 % of the water. If your machine lets you choose the speed, crank it up. The dryer time on the airer drops from a full night to just a few hours, and you’ll notice far less humidity building up in the room.
Real‑world tip: When I switched from a 800 rpm spin to 1200 rpm, my shirts went from taking six hours to dry to about three. The room’s humidity stayed comfortably below 55 %.
Step 2 – Choose the Right Airer
Pick a freestanding rack that lets air circulate on all sides. Space the hangers or clips at least 2‑3 cm apart; crowding clothes is the fastest way to create a mini‑steam chamber. If you have a fold‑down rack, open it fully and place it against a wall rather than in a corner.
- Wooden or metal rack – both work, just keep the surface clean.
- Clothesline with clips – great for delicate items that need a gentle touch.
- Mesh drying bag – useful for socks or underwear that tend to stick together.
Step 3 – Seal the Door, Not the Air
Close the room’s door to keep the warm, dry air from spilling into the rest of the house. At the same time, you need a way for fresh air to enter and stale air to leave. A simple solution is a narrow gap under the door (about 1 cm) or a cracked window. The goal is a slow exchange: enough to bring in drier outside air but not so much that the room gets a blast of freezing wind.
In my flat, I leave the kitchen window cracked by a finger‑width. The humidity in my drying room drops from 70 % to around 45 % within an hour, and the clothes finish drying in about three hours.
Step 4 – Keep Humidity Between 40 % and 60 %
Moisture that hangs around for too long invites mould, while air that’s too dry can make fabrics feel stiff. A small digital hygrometer is cheap and tells you exactly where you stand. Aim for the sweet spot of 40‑60 % relative humidity.
If you notice the numbers creeping above 60 %, it’s time to intervene. That’s where a dehumidifier or a bit of window airing comes in.
Dehumidifier vs. Window Airing
Dehumidifier – Plug a portable unit into the room and set it to 45 % RH. Modern models can pull 10‑15 liters of water per day, which is more than enough for a couple of loads. The advantage is consistency; you don’t have to worry about the weather outside.
Window airing – Open a window for 10‑15 minutes after each load. The fresh air sweeps out the moisture, and the brief exposure doesn’t chill the room dramatically. This works well if you have a sunny, dry day and want to save electricity.
My personal routine: I run the dehumidifier on low for the first hour, then crack the window for a quick 10‑minute burst. The combination keeps humidity steady without any noticeable rise in my electric bill.
Why Not to Use Radiators
It might look tempting to drape wet shirts over a hot radiator, but the heat actually speeds up mould growth on the fabric’s back side. The hot surface dries the outer layer quickly, trapping steam inside. You’ll end up with a wet core and a stale smell that lingers for days.
Instead, keep the radiator clear. If you need extra warmth, place a low‑heat fan a foot away from the airer. The gentle breeze moves moist air toward the dehumidifier or open window without scorching the clothes.
Putting It All Together – A Sample Evening
- After dinner, transfer the laundry from the washer to a high‑spin setting (1200 rpm). Let it spin for the full 10‑minute cycle.
- Set up the airer in your chosen room, spacing each item so air can flow.
- Close the door and check the hygrometer. If the reading is already below 45 %, you can skip the dehumidifier for this batch.
- Turn on the dehumidifier for 30‑45 minutes, or open the window for a short burst if you prefer fresh air.
- After the first hour, give the room a quick 10‑minute airing if you used the dehumidifier, then close the window again.
- Check the clothes after two hours. Most shirts and towels will be dry to the touch; heavier blankets may need another hour.
- When everything’s dry, leave the room open for a few minutes to let any remaining moisture escape, then shut the door.
That routine takes about three hours from start to finish, and you’ll finish the night with a dry, fresh‑smelling wardrobe and no sign of mould.
Quick Troubleshooting
- Persistent musty odor? Your humidity is probably staying above 60 %. Increase the dehumidifier’s setting or add another short window airing.
- Clothes still damp after 4 hours? Check the spin speed; if your machine caps at 800 rpm, consider a second spin or manually wring out excess water.
- Room feels stuffy? Place a small fan on low, pointing away from the airer, to improve air circulation without cooling the space.
Final Thoughts
Drying clothes indoors in winter doesn’t have to be a battle against damp and smell. By concentrating the process in one room, using a high spin, giving each garment breathing space, and keeping humidity in the 40‑60 % range, you’ll get dry laundry without sacrificing comfort. A little dehumidifier or a brief window opening does the heavy lifting, while radiators stay out of the picture. Give the method a try next time the weather turns cold – your clothes (and your nose) will thank you.
Comments
No comments yet — be the first to share your experience.