How to Set Up Passkeys and Stop Using Passwords (iPhone, Android, Windows)
On this page
- What a Passkey Is, Plain and Simple
- Why You Might Want to Ditch Passwords
- How to Set Up Passkeys on Google (Android & Chrome)
- Enable the feature in your Google Account
- Add a passkey for a website
- How to Set Up Passkeys on Apple (iPhone & macOS)
- Turn on iCloud Keychain
- Create a passkey for an app or website
- How to Set Up Passkeys on Microsoft (Windows & Edge)
- Get Windows Hello ready
- Register a passkey with a Microsoft account
- If Your Phone Goes Missing
- Wrapping It Up
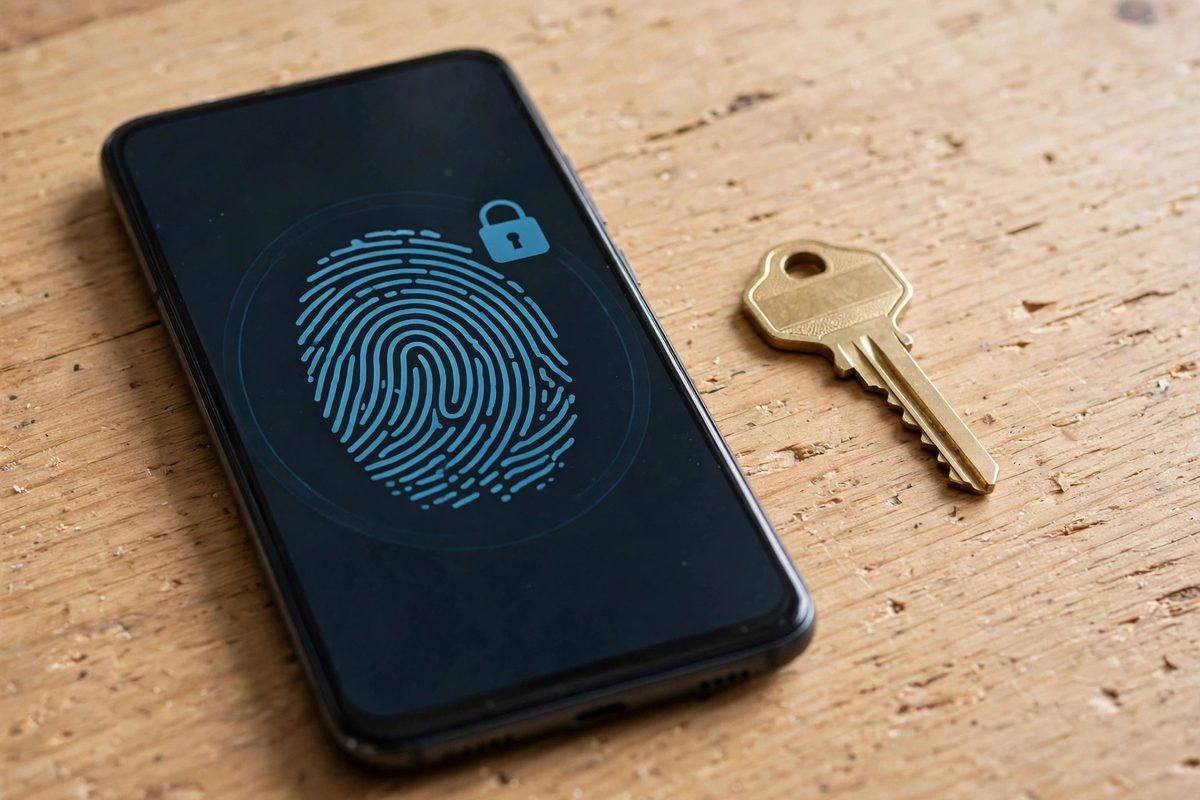
What a Passkey Is, Plain and Simple
A passkey is a digital credential that lives on your phone, tablet, or computer. Instead of typing a string of characters that you might forget or write down, you prove who you are with something you already have—your device—and something you already know, like a PIN, fingerprint, or face scan. The tech behind it is called public‑key cryptography: your device stores a private key that never leaves it, while the service you’re logging into keeps a matching public key. When you try to sign in, the service sends a challenge, your device signs it with the private key, and the service checks the signature with the public key. If it matches, you’re in. No passwords, no phishing‑prone strings of text.
Why You Might Want to Ditch Passwords
Passwords are a pain. They’re easy to forget, hard to make strong, and a favorite target for hackers. Passkeys eliminate the need to remember anything beyond your device unlock method. They also work across platforms—your iPhone can log you into a website on a Windows PC without you typing a single character. The result is a smoother experience and a big boost to security.
How to Set Up Passkeys on Google (Android & Chrome)
Enable the feature in your Google Account
Google has been rolling out passkey support for a while now, but you still need to turn it on. Here’s what to do:
- Open the Settings app on your Android phone.
- Scroll down to Google > Manage your Google Account.
- Tap the Security tab, then find the section called Signing in to Google.
- Select Passwordless sign‑in and toggle the switch for Passkey to the on position.
Now Google knows you’re ready to use a passkey whenever a supported site asks for one.
Add a passkey for a website
When you visit a site that supports passkeys (look for a button that says “Use a passkey” or a little key icon), Chrome will guide you through the process:
- Tap the Use a passkey button.
- Chrome will prompt you to confirm your device lock method—fingerprint, face, or PIN.
- After you confirm, the passkey is created and stored in your phone’s secure enclave.
- From now on, the next time you sign in, just hit the same button and approve the prompt.
Because the private key never leaves your phone, even Google can’t read it. The site only sees the public key, which is useless to anyone without the matching private key.
How to Set Up Passkeys on Apple (iPhone & macOS)
Turn on iCloud Keychain
Apple’s passkey system lives inside iCloud Keychain, so you need that turned on first. Follow these steps on your iPhone:
- Open Settings and tap your name at the top.
- Select iCloud, then scroll to Keychain and toggle it on.
- If you haven’t set up a device lock, you’ll be asked to create a passcode, Face ID, or Touch ID.
With iCloud Keychain active, your passkeys will sync across all Apple devices that use the same Apple ID, which means you can log in from a Mac without any extra steps.
Create a passkey for an app or website
When a supported app or website shows the “Sign in with Apple” or “Use a passkey” option, do this:
- Tap the passkey button.
- iOS will display a prompt asking you to confirm with Face ID, Touch ID, or your device PIN.
- Approve the request, and iOS will generate the private key and store it in the Secure Enclave.
- The corresponding public key is sent to the service, completing the enrollment.
On a Mac, the same flow works in Safari. You’ll see a pop‑up that asks you to confirm with Touch ID or your password, and the passkey is saved in the Mac’s keychain, instantly available on your iPhone, iPad, or Apple Watch.
How to Set Up Passkeys on Microsoft (Windows & Edge)
Get Windows Hello ready
Microsoft’s passkey support builds on Windows Hello, which is the PIN, fingerprint, or facial recognition system built into Windows 10 and 11. To start:
- Open Settings > Accounts > Sign‑in options.
- Under Windows Hello, set up a PIN if you haven’t already. You’ll also see options for fingerprint or facial recognition if your hardware supports them.
- Make sure the toggle for Security key (passkey) support is turned on. The exact wording may vary, but look for anything mentioning “passkey” or “security key”.
Register a passkey with a Microsoft account
Microsoft’s own services (Outlook, OneDrive, Xbox) now accept passkeys. Here’s the quick way to add one:
- Visit account.microsoft.com/security and sign in with your existing password.
- Find the section called Advanced security options and click Add a new sign‑in method.
- Select Passkey from the list.
- Follow the on‑screen prompt to confirm with your Windows Hello method.
- After you approve, the passkey is stored in the Windows Hello vault and linked to your Microsoft account.
When you later use Edge or any app that supports passkeys, you’ll see a “Sign in with a passkey” button. Clicking it will pop up a Windows Hello prompt, and you’re in—no password needed.
If Your Phone Goes Missing
Losing the device that holds your private keys can feel scary, but you’ve got built‑in safety nets. Here’s what to do quickly:
- Lock or wipe the device remotely. Use Find My iPhone, Find My Device (Android), or Microsoft’s “Find my PC” to lock the screen or erase data. This also revokes access to the stored passkeys.
- Revoke passkeys from the service. Log in to each account (Google, Apple, Microsoft) from a trusted computer and go to the security settings. Look for a list of “Passkeys” or “Security keys” and delete any that belong to the missing phone.
- Set up a new device. Once you have a replacement, turn on the same passkey ecosystem (iCloud Keychain, Google Passwordless, Windows Hello) and follow the setup steps again. Most services will let you create a fresh passkey without needing the old one.
- Keep a backup method. It never hurts to have a secondary sign‑in option, like a recovery email or a physical security key (YubiKey, for example). That way you won’t be locked out while you sort things out.
Because the private key never leaves your device, a thief can’t steal it just by having the phone. Revoking the key from the service makes sure the lost device can’t be used again.
Wrapping It Up
Switching to passkeys is less about learning a new technology and more about letting your phone do the heavy lifting. You set it up once—whether you’re on Android, iPhone, or Windows—and then you get a smoother, safer sign‑in experience across dozens of sites. If you follow the steps above for Google, Apple, and Microsoft, you’ll have a solid passkey foundation. And if your phone ever disappears, a few quick actions will keep your accounts safe. So go ahead, try the “Use a passkey” button the next time you see it, and say goodbye to the endless password reset cycle.
Comments
No comments yet — be the first to share your experience.